Creating a Secondary Zone Tutorial
The purpose of this tutorial is to provide step-by-step instructions on how to set up a secondary zone. This process requires the creation and configuration of the following items:
| Item | Description |
|---|---|
|
A prerequisite for a secondary zone group is a master server group that identifies one or more master name servers from which zones will be transferred. |
|
|
A secondary zone group defines the secondary zones that will be transferred from a master name server. |
Creating a Master Server Group
Create a master server group by performing the following steps:
- Add a master server group.
- Assign a name.
- Add a master name server.
- Define master name server properties.
- Save a master server group.
Step 1: Add a Master Server Group
A master server group identifies one or more master name servers from which zones will be transferred.
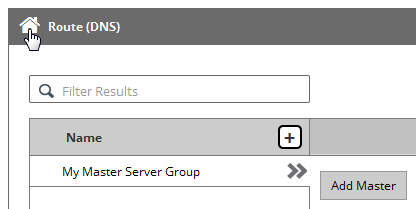
Click Add New from the Route (DNS) page.
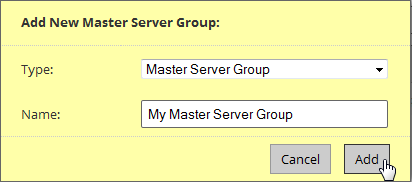
Select "Master Server Group" from the Type option.
The Add New dialog box will expand to display the Name setting.
![]()
The name assigned to the master server group is solely used for identification purposes.
Set the Name option to "My Master Server Group."
Click Add.
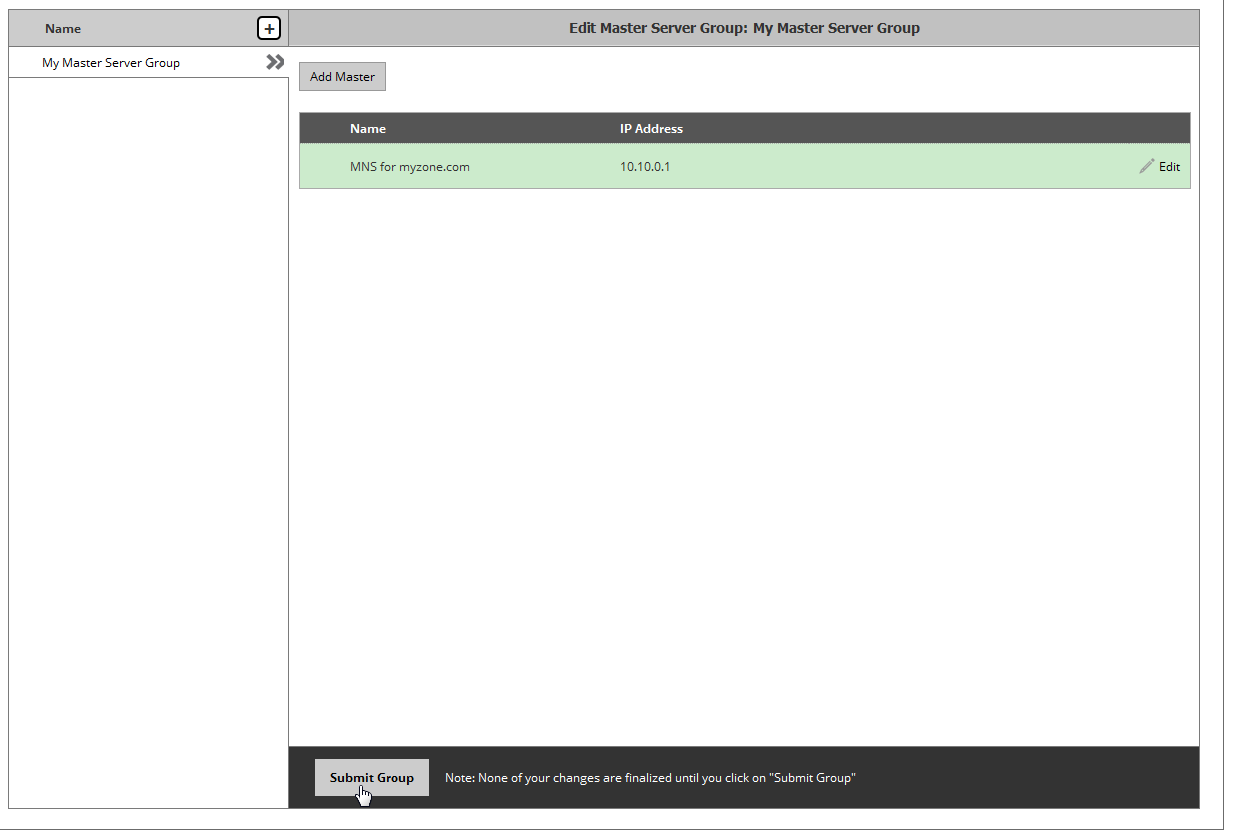
The Edit Master Server Group page will be displayed.
Step 3: Add a Master Name Server
Add a master name server to the master server group.
Click Add Master to associate a master name server with this master server group.

Step 4: Define Master Name Server Properties
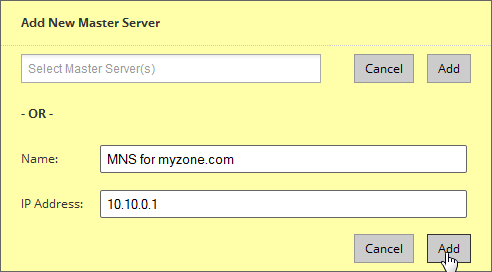
Use the Add New Master Server dialog box to define the name and IP address of the master name server from which one or more zones will be transferred. The name assigned to a master name server is solely used to identify it when selecting its TSIG key from within a secondary zone group configuration.
Set the Name option to the desired name.
Set the IP Address option to the IP address (IPv4 or IPv6) corresponding to a master name server from which zones will be transferred.
Click Add.
Step 5: Save a Master Server Group
Save the master server group so that it will be available for use with a secondary zone group.
Click Submit Group.
Click ![]() to display the Route landing page.
to display the Route landing page.
Creating a Secondary Zone Group
Create a secondary zone group by performing the following steps:
- Add a secondary zone group.
- Select a master server group.
- Optional: Define TSIG authentication.
- Identify a secondary zone.
- Save the secondary zone group.
Step 1: Add a Secondary Zone Group
Add a secondary zone group that identifies the secondary zones that will be transferred to our DNS service.
Click Add New from the Route landing page.
In the Type option, select "Secondary Zone Group."
In the Name option, type a name by which this secondary zone group will be identified (e.g., My Secondary Zone Group).
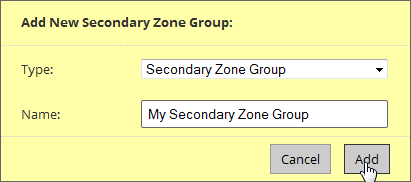
Click Add.
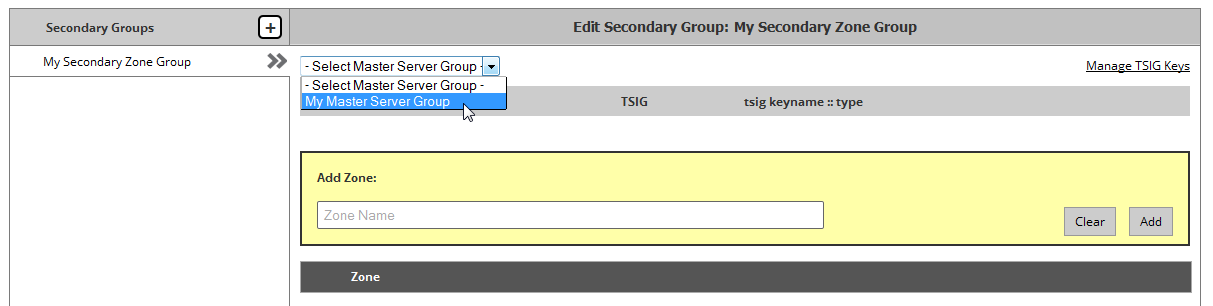
Step 2: Select a Master Server Group
Associate a master server group with the secondary zone group.
A master server group identifies the set of available master name servers for transferring secondary zones.
Select the previously created master server group from the master server group list.
Step 3: Define TSIG Authentication
Additional configuration is required if TSIG authentication is required by the master name server.
Optional. Set up our DNS service for TSIG authentication.
Perform the following steps:
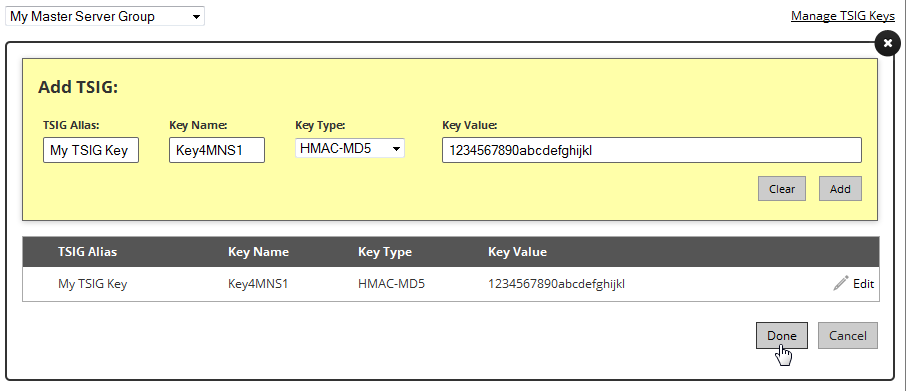
Register a TSIG key on our DNS service.
- Follow the "Manage TSIG Keys" link.
- In the TSIG Alias option, assign a brief name to the TSIG key (e.g., My TSIG Key).
- In the Key Name option, indicate the unique name by which the master and Route name servers will identify this key.
- In the Key Type option, select the cryptographic hash function used to generate the key value.
- In the Key Value option, paste the hash value generated for this key.
- Click Add.
Click Done.
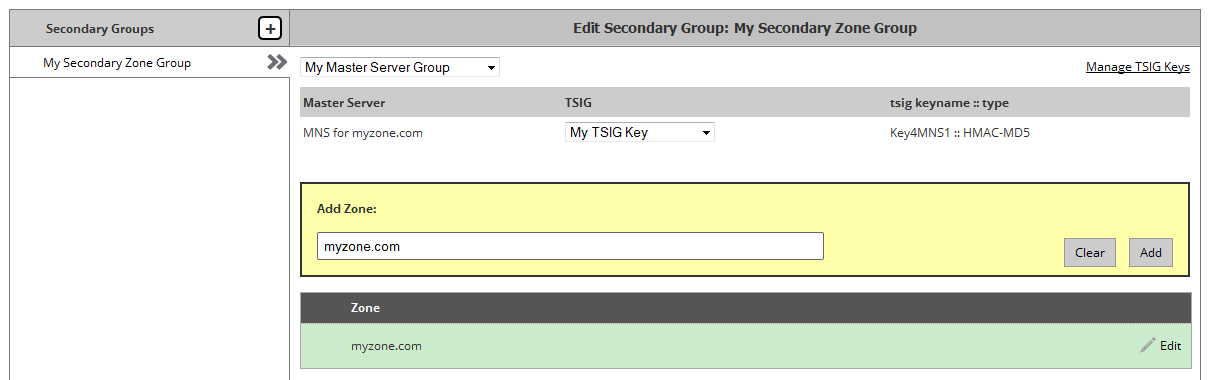
- Assign the recently created TSIG key to the master name server by selecting the key from the –Select TSIG – option.

Step 4: Identify a Secondary Zone
Indicates the secondary zone that will be transferred to our DNS service.
In the Add Zone option, type the name of the desired secondary zone.
Click Add.
Step 5: Save the Secondary Zone Group
Save the secondary zone group to trigger the zone transfer for the specified secondary zone(s).
Click Submit Group .
Edgecast CDN